Introduction
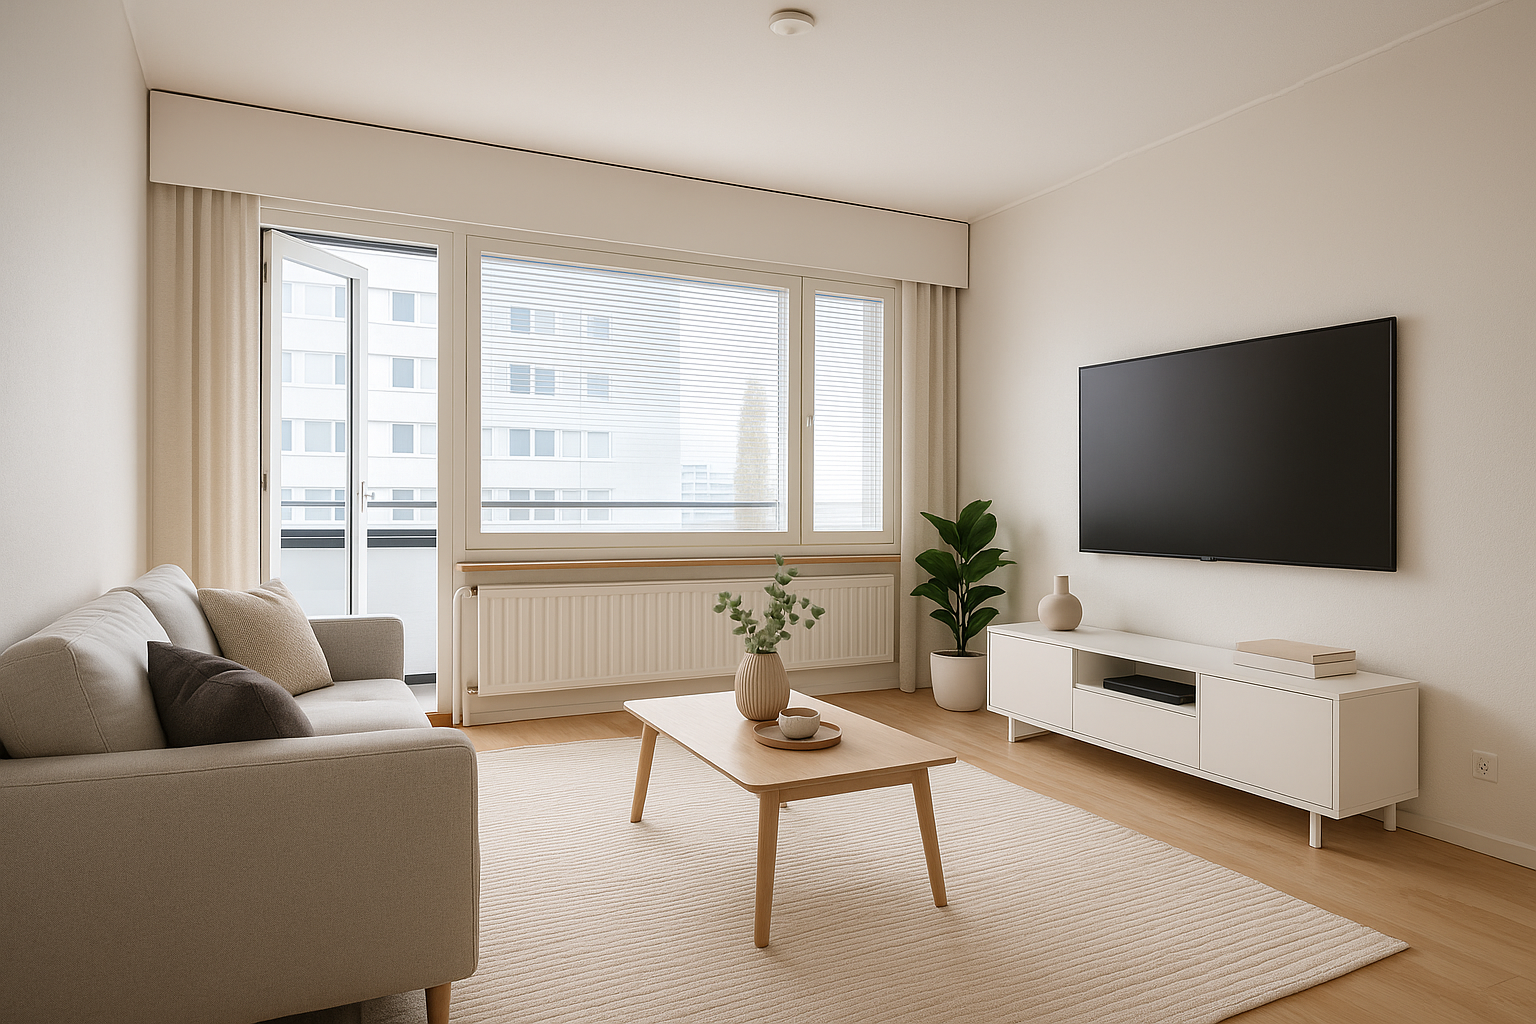
Have you ever scrolled through property listings and noticed how some homes instantly grab your attention while others fade into the background? The secret often lies in the visuals. High-quality, captivating photos can make or break a real estate listing, and knowing how to enhance real estate images is a game-changer for agents, photographers, and sellers alike. In today's competitive market, stunning visuals are no longer optional—they're essential for attracting potential buyers and closing deals faster.
In this guide, we'll walk you through practical ways to improve your property photos, from simple editing tricks to advanced tools. Whether you're a beginner or a seasoned pro, you'll find actionable steps to make your listings shine. Let's dive into transforming your real estate images!
Why Enhancing Real Estate Images Matters
First impressions count, especially in real estate. Most buyers start their search online, and the photos they see are often their first interaction with a property. If the images are blurry, poorly lit, or unappealing, potential buyers might skip over the listing without a second thought. Enhancing real estate images ensures your property stands out, builds trust, and creates an emotional connection with viewers.
Beyond aesthetics, polished photos can also speed up sales. Studies show that listings with professional-quality images sell faster and often at higher prices. So, investing time or resources into improving your visuals isn't just about looks—it's about results.
How Can You Enhance Real Estate Images? Step-by-Step Guide
Let's break down the process of improving property photos into clear, manageable steps. Whether you're using a smartphone or a professional camera, these tips will help elevate your images.
Step 1: Start with Proper Staging
Before you even pick up a camera, prepare the space. A cluttered or messy room can distract from a property's potential, no matter how good your editing skills are.
- Remove personal items like family photos or toys to create a neutral vibe.
- Arrange furniture to highlight the room's best features, like a cozy fireplace or large windows.
- Add small touches like fresh flowers or neatly folded towels to bring warmth to the space.
Staging sets the foundation for great photos, making the editing process much easier later on.
Step 2: Use the Right Equipment
While you don't need top-tier gear to get started, having the right tools can make a big difference.
- Camera: A DSLR or mirrorless camera offers better control over settings, but a modern smartphone with a good lens works well for beginners.
- Tripod: Keeps your shots steady, especially in low-light conditions.
- Wide-Angle Lens: Perfect for capturing entire rooms without distortion.
If you're on a budget, focus on learning how to maximize what you already have before upgrading.
Step 3: Master Lighting for Stunning Shots
Lighting can transform a dull photo into a masterpiece. Natural light is your best friend in real estate photography.
- Shoot during the "golden hour" (early morning or late afternoon) for soft, warm tones.
- Open curtains and blinds to let in as much natural light as possible.
- For darker spaces, use external flash or reflectors to brighten up shadowy areas without harsh glares.
Good lighting highlights a property's strengths and makes spaces feel larger and more inviting.
Step 4: Edit to Enhance Real Estate Images
Editing is where the magic happens. Even the best photos can benefit from a few tweaks to bring out their full potential.
- Adjust brightness and contrast to make the image pop.
- Correct color balance to ensure the walls, furniture, and decor look true to life.
- Remove minor imperfections like smudges on windows or stray objects.
There are plenty of user-friendly tools available, from free apps to professional software, which we'll explore in the next section.
What Tools Can Help Enhance Real Estate Images?
Editing software and apps are key to refining your photos. Below are some popular options tailored for different skill levels and budgets. Each tool offers unique features to help you polish property images with ease.
1. Adobe Lightroom
- Description: Adobe Lightroom is a go-to for photographers looking to enhance real estate images with precision. It offers powerful tools for adjusting exposure, color tones, and sharpness, along with batch editing to save time on multiple photos. Its user-friendly interface suits both beginners and pros, while presets allow quick, consistent edits across listings. Lightroom also supports RAW files, giving you more control over image quality. Ideal for agents or photographers handling high volumes of property shoots, it integrates with Adobe Photoshop for advanced touch-ups like removing unwanted objects.
- Creator: Adobe Systems
- Source: Adobe Lightroom Official Site
2. Canva
- Description: Canva isn't just for graphic design—it's a fantastic option for real estate image enhancement, especially for beginners. With drag-and-drop simplicity, you can adjust brightness, add filters, or overlay text for marketing materials like flyers. While it lacks the depth of professional software, its free version includes templates tailored for property listings. It's perfect for agents who want to quickly enhance images and create branded content in one platform. Canva works best for basic edits and social media-ready visuals, making it a versatile tool for smaller budgets.
- Creator: Canva Pty Ltd
- Source: Canva Official Site
3. Snapseed
- Description: Snapseed, a free mobile app by Google, packs a punch for on-the-go real estate image editing. It offers tools like selective adjustments, healing brushes to remove small blemishes, and filters to boost mood. Its intuitive touch controls make it easy to fine-tune brightness or contrast with a swipe. Perfect for agents snapping photos with smartphones, Snapseed lets you enhance real estate images directly from your device without needing a desktop. It's a great choice for quick edits before uploading to listings or social platforms, ensuring your visuals always look polished.
- Creator: Google LLC
- Source: Snapseed on Google Play
What Are the Benefits of Enhancing Real Estate Images?
Improving your property photos isn't just about making them look pretty—it has tangible perks for your business or sales process.
- Attract More Buyers: Eye-catching images draw more clicks and views on listings, increasing the chances of inquiries.
- Build Credibility: Professional visuals signal that you care about presentation, which can instill confidence in potential clients.
- Faster Sales: Listings with enhanced images tend to spend less time on the market, as buyers are more likely to schedule viewings.
- Higher Offers: Quality photos can create a perception of value, often leading to better offers from interested parties.
Taking the time to refine your visuals pays off in both short-term engagement and long-term success.
Real-Life Example: Transforming a Dull Listing into a Hot Property
Let me share a quick story from a real estate agent I worked with in 2025. Sarah, a solo agent in a competitive suburban market, struggled to get traction on a modest three-bedroom home. The original photos were taken on a cloudy day with a smartphone, resulting in dark, uninspiring images. The listing sat for weeks with little interest.
After learning some basic tips to enhance real estate images, Sarah restaged the home with brighter decor, reshot the photos during golden hour, and used Snapseed to adjust brightness and contrast. The difference was night and day. Within 48 hours of updating the listing, she had multiple inquiries, and the property sold within a week at asking price. A small effort in image enhancement turned a stagnant listing into a success story.
Can You Enhance Real Estate Images on a Budget?
Absolutely! You don't need expensive gear or software to improve your property photos. Here are some budget-friendly ideas:
- Use free apps like Snapseed or Canva for editing.
- Shoot with your smartphone and a cheap tripod (under $20) for stability.
- Leverage natural light instead of investing in costly lighting equipment.
- Watch free online tutorials on YouTube for staging and photography tips.
With a little creativity, you can achieve professional-looking results without breaking the bank.
Common Mistakes to Avoid When Enhancing Real Estate Images
While improving your photos, it's easy to slip into some pitfalls. Here's what to watch out for:
- Over-Editing: Too much brightness or saturation can make images look fake and turn buyers off.
- Ignoring Angles: Shooting from awkward perspectives can distort rooms or make spaces feel smaller.
- Skipping Staging: No amount of editing can fix a cluttered or unappealing space.
- Poor Timing: Avoid shooting in harsh midday light, as it creates unflattering shadows.
Keep these in mind to ensure your efforts lead to authentic, attractive visuals.
FAQ: Quick Answers About Enhancing Real Estate Images
Q1: Why should I bother to enhance real estate images?
A: Enhanced images attract more buyers, build trust, and can lead to faster sales at higher prices by making listings stand out online.
Q2: Do I need professional equipment to enhance my photos?
A: No, a smartphone with free editing apps like Snapseed can work wonders. Basic tools and good techniques often suffice.
Q3: How much time does it take to enhance real estate images?
A: Basic edits can take 10–20 minutes per photo using simple apps. More complex edits might take longer with advanced software.
Q4: Can over-editing hurt my real estate listings?
A: Yes, overly edited photos can look unnatural and mislead buyers, potentially harming trust and leading to wasted viewings.
Q5: Are there free tools to enhance real estate images?
A: Yes, tools like Snapseed and Canva offer free versions with powerful features for editing property photos on a budget.
External Resources for Further Reading
To dive deeper into real estate photography and image enhancement, check out these trusted sources:
- National Association of Realtors (NAR) – Real Estate Photography Tips
NAR Website – Offers practical advice for agents on capturing and editing property images. - Digital Photography School – Real Estate Photography Guide
Digital Photography School – A detailed guide for beginners on shooting and enhancing property photos. - Photography Life – Editing Real Estate Photos
Photography Life – Breaks down editing techniques specific to real estate visuals. - PetaPixel – Best Tools for Real Estate Photography
PetaPixel – Reviews tools and software for enhancing property images. - Houzz – Staging and Photography Tips for Listings
Houzz – Provides insights on staging homes and photographing them for maximum appeal.
Ready to Transform Your Property Photos?
Try Unfold.Room's AI-powered photo enhancement tools and see the difference for yourself.
Get Started NowConclusion
Enhancing real estate images is a powerful way to make your property listings stand out in a crowded market. From staging and lighting to editing with user-friendly tools, small changes can lead to big results—more clicks, faster sales, and even higher offers. As we've seen with real-life examples like Sarah's, a little effort in improving visuals can transform a listing's fate. Whether you're an agent, seller, or photographer, these tips and tools are within reach, even on a tight budget.